Showing posts with label beauty. Show all posts

Wednesday, May 14, 2014

Influenster Mary Kay Vox Box

Honestly, I typically don't love Mary Kay products. I have a friend that sells the products & when she asked me to come to a party, I said I would come to support her but I would not purchase anything. Well, I have bee converted.
 Even the box was cute!!

A breakdown of each product:
>Lash Love Mascara: I ended up liking this mascara more than I thought I would. It's not as thick as the mascara I normally use, but it's still pretty good!

>Cream Eye Color in Apricot Twist: Just colorful enough to have some pizzaz, yet still a classic/neutral I can wear with many outfits/seasons/lip glosses.

>Mineral Cheek Color in Sky Blush: I really really like this color! It's not as bright as what I normally use. This will be a perfect blush for summer!

>Translucent Loose Powder: I am quite excited about continuing to use this. It felt good & light on my skin, which was definitely a plus.

>Eyeliner with Expandable Brush Applicator in Jet Black: I've never used eye liner like this before... I've always been too scared. But I am so glad I tried it! Though it did take a couple tried, it wasn't as hard as I thought it would be.

>Bronzing Power: I used this to contour my face... for the first time ever. I love the directions on the left side of the picture below. They really helped. I didn't really see a whole lot of a difference, but I also didn't put a whole lot of product. I'm looking forward to using it again!

>NouriShine Lip Gloss: I was pleasantly surprised at how good this looked on me! This has already been put in my purse :)

>Eye Color Brush: This came in handy with the cream eye color. I will definitely be putting this to good use!

>Blush Brush: This came in a a perfect time! I needed a new one and love this one so far!

 I love how the catalog had some directions, which really cam in handy when I went to use the bronzer & do my cat eye.

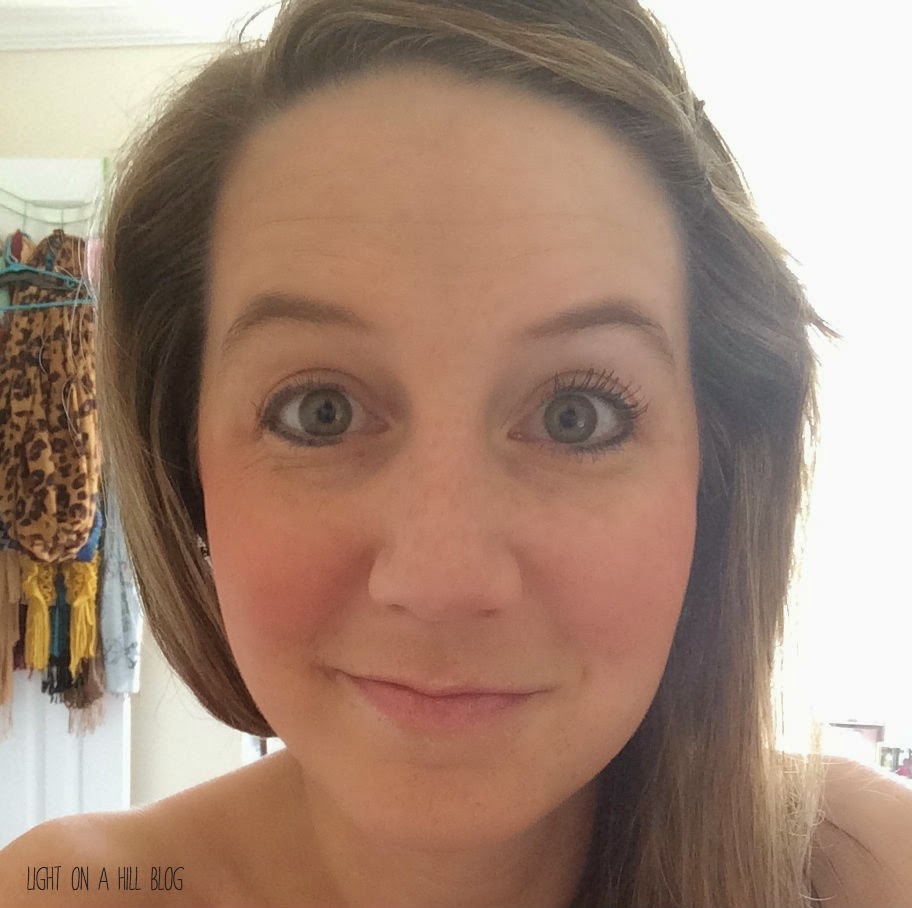
The finished product. Will I try cat eyes again? Doubt it. Just not me. But I love the liner! One day, when I'm brave enough again, I want to try to use the liner on the top & bottom of my eye. Maybe I'll do a post about it ;) 

If you'd like to check out their website, you can do so here. Do you have any Mary Kay products you just adore? 
 
{{This box was given to me c/o influenster, but the opinions are all my own!!}}

Friday, May 9, 2014

How I Pretty-Up

Here are the products I use daily, or almost daily, and my opinions about them!

>Ocean Potion Aloe Lotion: I use this product in the spring/summer. Not only does it help your tan last longer, it also smells amazing!!

>Olay: This is what I use mainly in the winter or when I need some extra moistur for my skin. I also love the shimmer- it's just enough to be noticeable without being too much.

>It's a 10: This product is AWESOME! It does a great job adding volume as well as making your hair softer. It also smells fantastic!! I'm pretty sure you can only get this product at salons.

>Frizz Ease Extra Strength: I have used this product for years- and will continue to use it. I also use the Frizz Ease shampoo & conditioner. It really calms my hair and helps it stay straightened.

>Frizz Ease 3 Day Straight {trial size}: I got this in my last Influenster Vox Box. It is comparable to the Frizz Ease Extra Strength. This product also calmed my hair down. That day, I didn't even have to straighten my hair.

{You can find more information about both of these products here.}


>Garnier Refreshing Cleansing Towelettes: These are my favorite towelettes. In comparison with Neutrogena, these leave my face feeling much softer and cleaner. They do exactly what the title says- removes my make-up & leaves my face feeling fresh.

>Clinique Even Better Eyes: Under-eye circles run in my family, so it's an issue that I will be dealing with for the rest of my life. This product not only covers really well, it also reduces the actual darkness of the under eye circle! I've used other brands, and this is my favorite!

>Clinique Dramatically Different Lotion: This lotion has done wonders for my skin, especially over the winter. It gives my skin lots of moisture without being greasy or gross feeling under my make-up.


1. Covergirl Bombshell Mascara in Blackest Black: I have tried mascara after mascara & this is my favorite. Other mascara I've used either smear, flake off, or are super difficult to remove. This is just a perfect mascara- even at the bottom of the tube. I lasts all day & comes off easily with make-up remover. And, as you can see in the pictures below, does a great job at lengthening & volumizing your lashes with out being too much.

2. Revlon ColorStay Under-eye Concealer: Since I'm paranoid about my under-eye circles showing, I double up on the under-eye concealer. This stuff just adds a finishing touch & smooths everything out... and keeps my mind at ease, lol. We all have that one part of our body {or two... or three...} that we worry about ;)

3. Garnier Skin Renew BB Cream in Light/Medium: I love, love, love this stuff! It has the perfect amount of coverage with out being too thick. It can make your skin a little oily, so if you have oily skin, there is a different version you can use.

4. Revlon ColorStay Powder in Light Medium: This powder covers well & lasts a long time. I don't have to re-apply it, even when I do something after work. I like how it covers my skin, but doesn't leave it with a chalky feeling.

5. L'oreal True Match Blush in Soft Sable: You can see what it looks like on me in the picture below. The blush is rather potent, but it in a good way. You don't have to use a lot to get color on your cheeks, which means it lasts a while. Just be careful with over doing it!

6. L'oreal Infallable Eyeliner in Black: The name is pretty much true- it does last a long time and doesn't smear. It will run if your eyes water or you cry, but not as bad as others I've used. I have re-purchased this multiple times because I love it so much!

7. Revlon Lash Curler: I just started using a last curler about a year ago {and I used one in the pics below}. It has made a big difference in making my lashes noticeable.

{ColorStay products found here.} & {Loreal products found here.}

What a difference mascara makes! The bombshell mascara is one of my favorites & I highly recommend it!!

Thie finished product!

Do you have any products that you just adore?

Follow on Bloglovin

Wednesday, May 7, 2014

Jamberry Nails Review


The lovely Stephanie Raiche offered to let me try these, and of course I said yes!! 

Here's the steps I followed:

This is how it happened. I was invited to a Facebook party by my wonderful friend, Anna. When she mentioned in the party that I should mention put these on my blog, Stephanie asked me if I wanted to try them, to which I said "YES!" & there was a set in my mailbox the next day!

Honestly, the strips weren't that hard to apply. 

{tips}
>If your nails aren't perfect the first time, it's okay!! 
>make sure you seal the edges really well. There's a baggy method that Stephanie mentioned, but I haven't tried it yet.
>you might have to re-stick the strips a few times to place them correctly & that's okay!
>make sure you have actual manicure scissors. The ones I used were not small enough and I couldn't get the wrap trimmed close enough to the nail. 

{Pros}
>no dry time
>last a loooong time!
>a tons of options to mix and match.

{Cons}
>the sizes don't always match up

Would I purchase some on my own? Absolutely! I love them!! If you're interested in getting some Jamberry nails of your own, you can check them out here! 


*These nail wraps were given c/o Stephanie, but the opinions posted are all my own!*

Wednesday, April 16, 2014

nails.

the last night kacey and i were at the beach, i painted my nails. they really needed to be done because i got this new type of "gel" nails called SNS nails. i don't recommend it. totally messed mine up!!

i was at CVS a while back and found these colors. the turquoise, called "turquoise and and caicos", orginally stood out to me because of the name {we went to turks and caicos for our honeymoon}, so i pretty much had to buy it! the dark coral, called "cute as a button", was a perfect match to the turquoise. i also know that corals look better on me that blues, so i decided to do the coral as my main nail color with the turquoise as the accent nail.


the small bottle is a trial size of the "good to go" topcoat. i love this!! dries your nails completely in a few minutes. #perfect
the larger bottle is the essie "all in one". excellent base coat. my nails don't turn when i use this and it helps bond the color to the nail.

Follow on Bloglovin

Tuesday, March 25, 2014

5 minute "sock" bun tutorial

here's my take on the "sock" bun:

whatcha need:


1. since this is done on 2nd day hair, sometimes i will use dry shampoo to bring back the bounce in my hair. i highly recommend this product! it really works! 


2. hair spray for hold and those pesky flyways.

3. a gripper headband
4. a hair twistie {not pictured}
3. a sick bun roller to match your hair color {pictured in step 3} 


6. a teaser brush to smooth the bun
{on a side note, notice the show playing ion my ipad? yeah, i love to watch netfilx when i get ready.}

the steps: 
step 1. spray dry shampoo and put gripper headland in hair. push back a lil ways.

step 2. pull hair back and loosen a little between headband and pony, then between headband and hairline to give a little lift and so your hair isn't super flat to your head.

step 3. grab your sock bun roller and put your fingers in the middle.

step 4. grab ponytail at base, near the hair tie.


step 5. pull hair through. leave a tiny bit of space between sock bun roller and hair tie.


see the small space?

step 6. split your hair in two or three chunks.


step 7. grab a chunk of hair and tuck it under the sock bun roller.
then repeat step 7 until all chunks are tucked in.


here's what the first tuck looks like


step 8. after all the chunks are tucked in, push the sock bun roller down to the hair tie and smooth/spread the bun with this teaser brush and spray with hairspray. 
*if ya have some flyways, brush them down with the teaser brush and spray as well.*


the final look! 

the first time you try this, it may take more than five minutes. but after you've done it a coupla times, it will seriously only take you five minutes!! i love doing this on the days where the weather is crazy or when i like to sleep in :) 


Follow on Bloglovin

Monday, March 17, 2014

curling hair with a straightener

happy st patty's day!
today i am linking up with molly and carly for funday monday! click on the pic below to link your blog or to check out other funday monday blogs!

still being [molly]

okay, so this is my first tutorial, so bear with me :)
this is the easiest way i've seen to curl your hair with a straightener. it's a loose and relaxed curl.

final product {excuse the cow-licked bangs, they are freshly cut}


my hair before. just after being blow dried.


don't forget to go ahead and turn your straightener on!! mine

step 1. twist the top half of your hair back into a bun or something along those lines. you want to make sure the top half of your hair is all the way up so you don't accidentally grab it with the straightener when you're working on the bottom half of your hair. {i speak of this from experience. it hurts!!}

so, normally you hold your straightener like this.
 
2. to achieve the lightly curled look, you want to hold your straightener the opposite. 
twist your hand, with your straightener in it, to the right if you're a lefty and to the left if you're a righty. {you should see me as i sit at my computer to typing this out. it's quite a sight.}

this is what happens when the photo timer goes off and you know you're not ready, lol.

3. then grab your hair and pull slowly tightly down. as you move down, hold the straightener tight on the hair, like squeeze it, and move slow {that's what gives it the curl} tip: you'll want to hold the bottom part of your hair to give you some resistance. you might want to hold the hair tighter than i am in this picture to help with the resistance and creating curl.

4. as soon as you're done, twist it tightly with your fingers.

5. repeats steps 2-4 over and over again until you're done with the bottom. it took me about 5 or 6 different times. make sure you spray it with hairspray! i use john frieda hair spray


my first curl. don'tcha love the facial expressions?  

the bottom half done. not many layers here, so the curl is a little less obvious.

6. after you've sprayed the bottom half, move onto the top half, repeating steps 2-4 until you've done your whole head and let it cool. then spray it with hair spray... like lots! well, i tend to get a lil carried away with the hair spray, lol.
afterwards it's all done.

7. after your hair has cooled, run your fingers through your hair to separate the curls. 


8. then finger style and spray with the some hair spray {last time, i promise!!}

one more selfie with the finished look.

random side note: this shirt is super special to me. hao proposed in central park, nyc almost a year ago and when i found this at old navy this fall, i just about died from excitement! also, it's wrinkly cause i don't iron. haha.

Follow on Bloglovin